
How to Install Carbon on your Rust Server
Carbon is a modding framework for Rust that provides server owners with a streamlined way to add plugins, adjust configurations, and manage moderation. It maintains full backward compatibility with Oxide plugins while being designed for minimal overhead and strong performance.
Although Carbon supports Oxide plugins, the two frameworks cannot run simultaneously — you'll need to pick one or the other.
Among its many features, Carbon includes a built-in stack and gather manager, a permissions system, hook support, chat and console integration, an embedded demystifier, and more.
To explore everything Carbon has to offer, check out the Carbon Documentation.
Important: This guide only covers installing the Carbon framework. To learn how to add Oxide and Carbon plugins after installation, see this article.
Installing Carbon
Carbon can be enabled by selecting it as your modding framework in the Rust Server Settings section of your control panel.
- Open your server control panel and Stop the server.
- Head to the Server Config tab.

- Confirm that the AUTO UPDATE option is set to Enabled.
- Set the Modding Framework and Modding Root Directory options to Carbon. For the root directory you have to manually type `carbon`.

- Save your changes and Start the server.
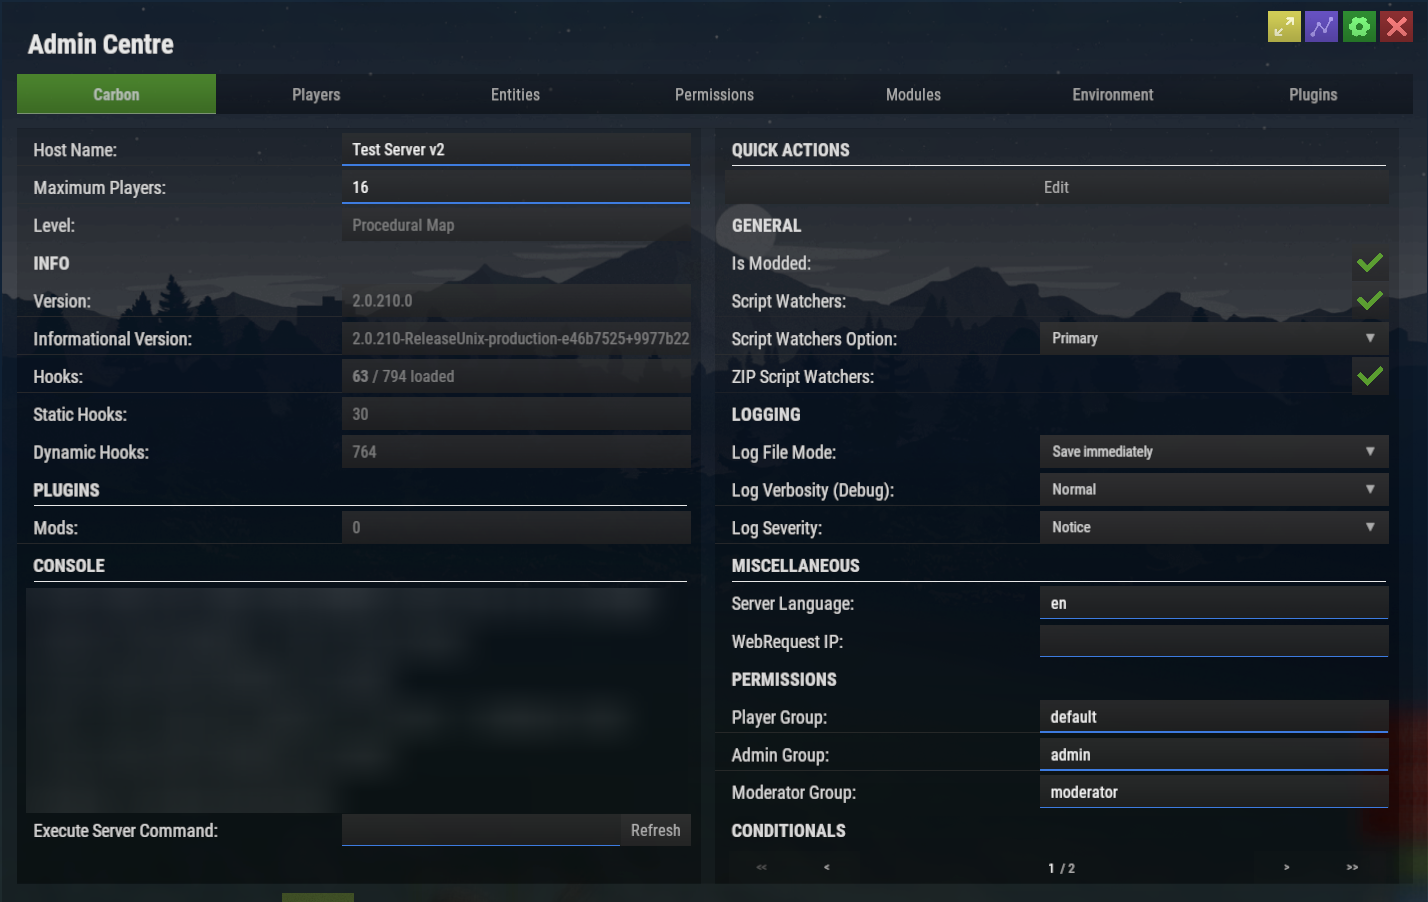
- To confirm Carbon is running, open your server console and type
c.version.
